Due to all the advances and improvements of smartphone cameras, it is only logical that divers are tempted to use their phones for underwater photography instead of buying an underwater camera. And I can more than relate with them, as I am among those who gave smartphone, or more specifically iPhone underwater photography, a try.
While I still dive with my main underwater camera, I have been using my phone as a secondary underwater camera and main underwater videography device for more than two years. As such, I can encourage fellow divers to give it a go.
As long as you have a newer phone with a good camera like the newer iPhones, it is a solid camera alternative for UW photography. That is if you have the right setup and know the basics of using your iPhone for underwater photography. Just like with every other type of photography, mastering your skills takes practice and time, but these tips and essentials will speed up the process.

This post may contain affiliate links(*), which means I may receive a commission, at no extra cost to you if you make a purchase through a link. Please see the full disclosure for further information.
1. Protect your Phone while Diving
While there are many things to know about iPhone underwater photography, the most crucial step is protecting your phone against pressure and from water damage.
Nowadays, iPhones (and other smartphones) might be water resistant, but even that is only to a certain degree. Recent iPhone models have an IP68 rating which means they survive being accidentally submerged in water, but it is limited to a maximum depth of 6 m for 30 minutes from iPhone 12 onward, and only 2 or 4 meters for older models.
Hereby, you should note that the water resistance decreases over time – especially in saltwater. As such, even using your phone for iPhone underwater photography while snorkeling is not recommended.

Aside from water damage, you furthermore have to consider the ambient pressure and how it would damage your phone. As you dive deeper with your phone, the increased pressure will damage the phone.
As such, you need a solid case as a flimsy plastic case will not protect your phone against the ambient pressure at depth.
Chances are, that your phone will be fine in a plastic pouch if you do not go deeper than 10 meters, but I still do not recommend using a cheap case for two reasons:
- There is a great likelihood that you will dive deeper than 10 meters, which will then damage your phone.
- You will not be able to use your phone’s touchscreen due to the water pressure, so there is no reason to bring it in the first place.
So do yourself a favor and invest in a quality product that helps protect your phone, while also enabling you to use your iPhone to its full capability. It might be tempting to cut some costs, but it is not worth it when doing so puts your phone at risk. Having to buy a new iPhone will certainly be more expensive than the initial expense of a proper diving phone case.
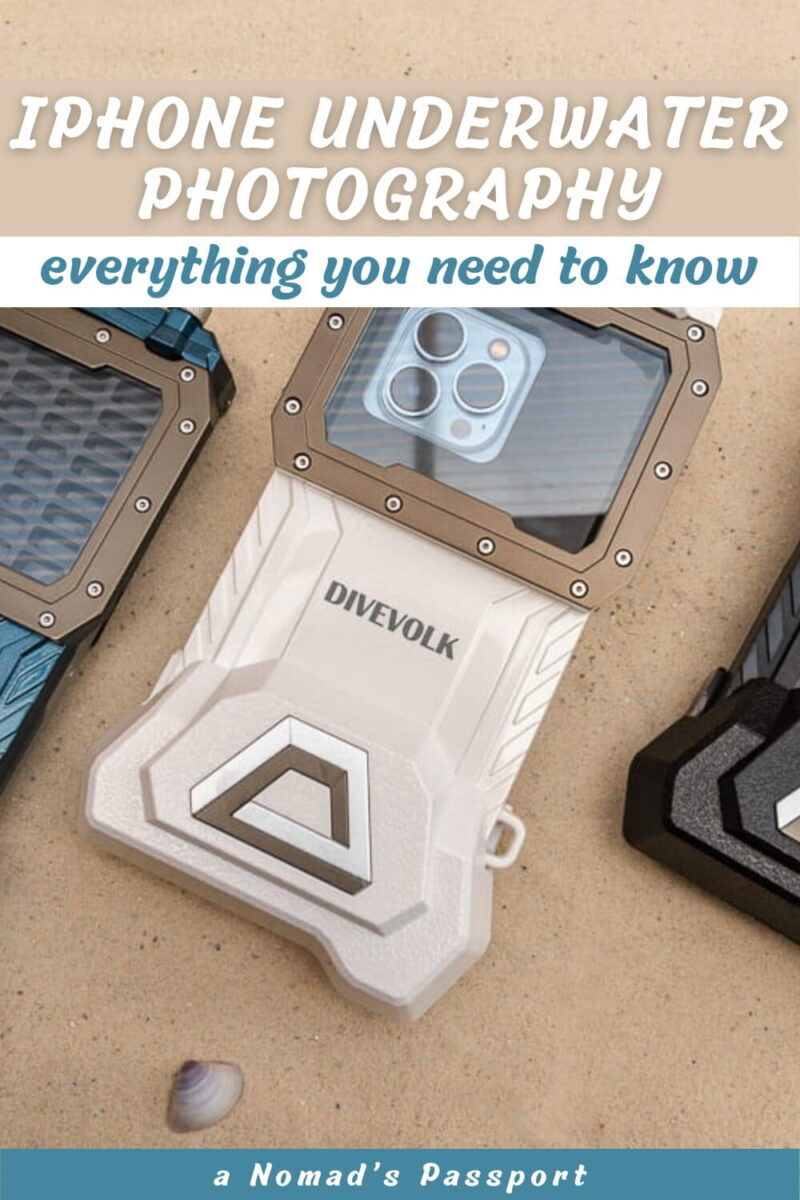
Hereby, I recommend the Divevolk Seatouch 4 Max. It is the iPhone diving case I have been using for close to three years now, and I believe it is the best product currently available on the market.
Thanks to a gel-filled dual-film membrane, you can use the touchscreen and are therefore not limited to the capabilities of one dedicated app. It is certified to a depth of 60 meters (200 ft) and is now available in three colors: black, glimmering white, and oceanic blue.

Thanks to the use of trays inside the housing, you can keep using it even if you get a new phone. Hereby, you could even switch to Samsung or another brand, so you are not limited to an iPhone.
If you want to know more about the Divevolk Seatouch 4 Max, you can read my complete review of the diving phone case here.
Get 6% off by using the discount code: anomadspassport — buy your housing now.
2. Composition
Ensuring that your image has a good composition is key if you want to take captivating photos. While some general photography rules such as the rule of thirds also apply to underwater photography, the ideal underwater composition tends to be slightly different and depends on your subject.
While the rule of thirds can be helpful when looking for the ideal composition, it is also a rule that is meant to be broken if you have a different artistic vision. Ultimately, what matters is that the composition should guide the eye to the subject of the photo.

As such, you can use leading lines while wreck diving or can use natural arches of all kinds – be they in the foreground or background – to frame your motive.
If you want to follow the rule of thirds while using your iPhone for underwater photography, you can turn on the grid as follows: settings > camera > composition > grid.
If you are taking a macro photo of an individual fish or nudibranch, it is usually ideal to have a simple background such as the open water. Otherwise, it will be too distracting. You should also get low and close to the subject of your macro shot.
When taking wide-angle shots, I highly recommend keeping an eye on the background. You do not want a diver doing something unsustainable in your photo.
Of course, you also have to decide if a landscape (horizontal) or portrait (vertical) orientation is best for the motive you want. If you use the Divevolk housing and tend to shoot in portrait mode while using a tray, I highly recommend using an L Bracket so your phone is in the desired position while you hold the train in the normal horizontal position. Please note that you need the Expansion Clamp to use it.
3. Lenses
Just like for regular underwater cameras, there are also different underwater lenses for your iPhone. If you have the Divevolk housing, these optical wet lenses can be attached via the expansion clamp.
- 0.6x wide-angle lens — By using this lens, you have a wider field of vision as the lens corrects the distortion caused by the flat ‘port’ of your diving phone case.
- +15 close-up lens — This lens has a magnification and diopter +15, and therefore more than improves your macro shots if you are using your iPhone for underwater photography. Be sure to turn off your iPhone’s macro mode.
In addition to these two lenses, you can also get a dome lens for split photography. Unlike the other lenses, it is a dry lens.
I tried split shots with the wide-angle lens several times, and can only tell you that you will not get the photos you want without this split-shot dedicated lens.
Just note that it is only waterproof up to a depth of 3 m, so you have to remove it before you dive. I recommend using it while snorkeling.

4. Color Filters
Colors with longer wavelengths such as red, orange, and yellow are absorbed at shallow depths, so if you want your photos to be vibrant in color, you either need color filters or lights.
On sunny days, you will have sufficient natural light and red light to go without at shallow depths, but below 4.5 meters you will see red lose its saturation and vibrancy. Only a few meters deeper, orange and yellow will be absorbed too.
If you cannot light up the entire area with lights, using color filters is the easiest solution. They can be screwed on in front of your phone’s camera lenses, and are available in magenta and red.
Hereby, the magenta filter is best used between 5 (16 ft) and 15 meters (49 ft), while the red filter is more suitable if you want to dive down to 25 meters (82 ft). Please note, that it is usually best to have lights from 20 meters (65 ft) onwards. It is not recommended to use color filters simultaneously with video lights as your photos and video footage will end up being too red.

While I do not use color filters when taking underwater photos, they are incredibly useful if you film with your phone and do not want to spend hours editing your diving videos before you can post them. As such, I am happy that my Divevolk setup allows me to easily slide the filter to the side so I can switch back and forth depending on what I want.
5. Light
When it comes to light and iPhone underwater photography, we have to consider natural light and artificial light. Hereby, the approach to natural light is the same as it is with regular underwater photography, but your light setup differs.
Unless you are taking photos of light rays while diving in cenotes or even in open water, it is best to have the natural light at your back. By doing so, you utilize the light to illuminate the area and consequently have more vibrant colors while also avoiding harsh contrasts.
If you use artificial light sources, you have to use video/photo lights, as it is (currently) not possible to use an underwater flash with your phone. Merely using your phone’s flash is also not an option as it is not strong enough to illuminate the surrounding area underwater.
While you can make do with one video light, it is beneficial to have two light sources. I use two 5000 lumen video lights that have three power levels.
Having two light sources, widens the range of what you can do, as it allows you to adjust the positioning of your lights depending on the conditions.
Hereby, it is incredibly beneficial to be able to turn them outwards at a slight angle while taking wide-angle photos. The light will not directly hit particles in the water, so you have less backscatter.

For macro photography, it is best to turn them inwards but not directly at your photo subject. Please also lower the lumen of the lights so you do not ‘fry’ the nudibranch, shrimp, or fish.
You will have to play around with the exact position of the video lights a bit to find the ideal positioning for different situations.
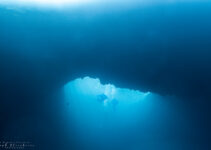
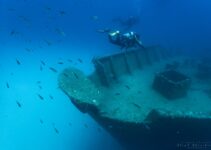
If there is sufficient ambient light, video lights will only illuminate 1 to 2 meters. Meanwhile, they will illuminate a great area during night dives, at greater depth, or in overhead environments like wrecks. Due to this, my video lights were not helpful while diving in Gozo and taking wide-angle photos of the arch of the Blue Hole, but very useful inside the engine room of the Um El Faroud wreck in Malta.
6. Underwater iPhone Photography Settings
If you use the Divevolk housing like me, I recommend adjusting the following settings to enhance your iPhone underwater photography experience.
Turn on Assistive Touch (Settings > Accessibility > Touch > AssitiveTouch > On). You can use it to use it to turn off the screen and should also use it to close apps while your phone is in the housing.
The built-in macro mode of the iPhone can cause issues, so you should turn on ‘macro control’ (settings > camera > macro control toggle).
While editing your underwater images it is best to work with RAW files, so I furthermore recommend turning on ‘Apple ProRAW’ (Settings > Camera > Format).
7. Useful Apps
As previously mentioned, you can use any app you want if you use the Divevolk case for your iPhone. In terms of underwater photography, this means you can use a variety of camera apps that will extend the range of what you can do.
Hereby, I recommend giving the following apps a try:
Lightroom — You might only know Lightroom for editing purposes, but the app also comes with a camera mode that allows you to adjust all settings of your phone’s camera manually.

Black Magic — this free videography app allows you to manually adjust everything from the ISO, the shutter speed, white balance, FPS, and focus. It furthermore allows you to intentionally switch between the different lenses of your iPhone, which grants you significantly more control. You can also work with pre-selected LUTs.
Double Take — If you want to film simultaneously with the front and back camera, you can do so using this app.
8. General Underwater Photography Tips
When it comes to underwater photography, there are certain things you have to keep in mind regardless of what camera you use. After all, a good photo is not more valuable than safety and marine conservation.
Keep an eye on your deco time and air consumption – Getting the perfect shot can take a while and overall, underwater photographers tend to consume more air while taking photos, so keeping an eye on your computer and pressure gauge is vital. Find the rhythm of checking both that works best for you and adjust it according to your depth, deco time, and remaining air.
Be aware of your surroundings – It can be easy to lose track of what is going on around you while taking photos, but you cannot allow yourself to do so while diving. To be a responsible diver, you have to be aware of your own position in the water and how close you are to corals or even wrecks.
Know where your buddy is – Chances are, that you are not a self-reliant diver and therefore have a buddy, so keep track of their location while you take photos. Talk to them prior to the dive and tell them you will occasionally stop to take photos.

Use your buddy as an underwater model – We all love photos of vibrant corals, manta rays, and nudibranchs, but some motives are enhanced if there is a diver in the frame. So ask your buddy if they are comfortable with being in your photos and maybe discuss some basic signs that allow you to communicate where you want your buddy to be in your perfect shot. If you frequently dive with someone like I do with my dive buddy, you will likely come up with a completely new set of signs for underwater photography.
iPhone Underwater Photography Takeaways
With the right gear, an iPhone is now just as good (and in some cases) even better than regular non-professional) underwater cameras. However, buying a reliable and versatile housing like the Divevolk Seatouch 4 Max as well as using filters and video lights is vital to getting good results.
As such, I recommend the following setups based on what I use myself: If you want to give iPhone underwater photography a try and want to use filters and a wide-angle lens right away, I recommend buying the Ocean Kit to save some money. If you also want a tray and two video lights and do not mind spending more on your setup, the Deep Dive Kit is the best option.
Once you have the right gear, taking a good underwater photo with your iPhone is a question of having an interesting motive, good framing, and the willingness to practice your UW photography skills.
More about UW Photography
Aside from using your phone as an underwater camera, you can also use it as an external monitor by using the housing. Read all about it:
How to use your phone as an external underwater monitor
Is there anything else you want to know about using your phone for underwater photography?
Let me know in the comments!
Do you want to reference these tips? Then pin the article for later!

Disclosure: Divevolk gave me the housing and other gear for testing purposes. I love the housing, so I continued to use it after writing my review.